I SO love paper. But I know that I NEED to go paperless.
My biggest roadblock in going paperless was saving my papers and then having find a scanner… somewhere.
I really can’t believe how many steps and new systems I am having to put in place to go paperless!
#1 Get A Quality Scanner
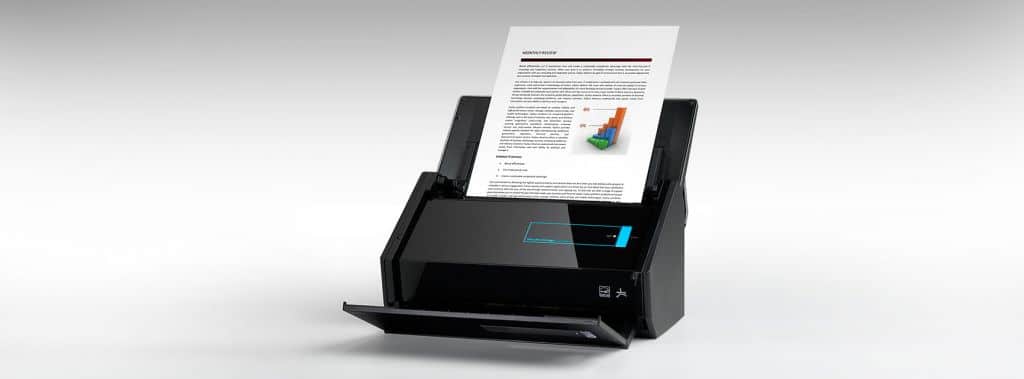
- It’s wireless. I don’t need any more wired devices in my house! And I wanted the ability to place the scanner anywhere {like in the kitchen}, or be able to take it to the basement filing cabinet without having to take the computer with me.
- I wanted to be able to scan my backlog of paper quickly. The ScanSnap iX500 can scan up to 25 pages per minute and scans both sides of each sheet. Additionally, blank pages are eliminated as they are scanned so I can just stack and scan!
- I wanted a scanner that would scan to my phone. As my business and life become more and more mobile, I wanted to make sure the scanner I was buying would keep up with my ever on-the-go lifestyle.
- I needed the files to be available online. I have waited SO long to start scanning my documents. 🙂 As I see technology advancing, I want access to my paper documents from my phone or any device. I have chosen to use Dropbox as my online filing system. I’ll fill you in just as soon as I figure it out!
- I wanted a scanner that would read business cards. Crazy, I know, but I have saved business cards from the last 20 years of networking and have YET to create a good system for using that information!
#2 Decide Where To Send Your Scans
My second major hurdle was WHERE am I going to scan stuff to?
I change laptops every 2 years. And I really love my chromebook, but it’s not ScanSnap compatible and has very little memory anyway.
I have also been meaning to store all my digital files and photos in the cloud “one day.”
So I needed to decide on a cloud-based storage solution before I started scanning.
I don’t know why I can’t get my mind wrapped around Evernote. I know it is the mac daddy of cloud-based everything, but my mind just goes blank every time I even think about it. Maybe it’s because when I see those little notebooks, they remind me of hidden files. I don’t know. I tried again, but got nowhere.
I use Google Docs for a lot of shared documents, but don’t really understand how things are organized in Google Docs, or how to get back to what I have saved. I just pin each document to my task bar until I am done with it.
Ugh! I am definitely NOT your tech organizer!
So I settled on Dropbox.
I have used Dropbox with a few of my assistants over the years and understand the basic file system. It is the most like my regular desktop. A few months ago, I upgraded to the paid $9.99 service and increased my storage to 1 terabyte.
I also started sending all my saved documents on my computer to the Dropbox cloud. I’ve just begun this process and figure it will take me the next 4 months here and there to get everything uploaded and organized.
I am really excited to have finally made this decision, too. While I wanted the decision to be for Evernote {it seems so cool and so many productivity experts use it}, it just wasn’t clicking for me.
#3 Start
So, this is the hard part. I knew the scanner I wanted. {Thanks Fujitsu for the ScanSnap iX500!!} And I made my decision on which cloud storage to use. So why can’t I dive in?
1. I don’t want to “do it wrong.” I want to know what my online cloud storage system will look like in the end so I don’t have to redo anything. But I can’t know that until I start. {Trust me, I’ve Googled my little brains out over this one!}
2. I am overwhelmed by the amount of time this will take. As I said earlier, I am giving myself 4 months to complete this which probably seems ridiculous to some of you. But for me, I still have a lot of brain work to do to embrace this new cloud way of storing my computer and physical files.
I know I will be SO happy when I am done, but I need a new way of thinking to do it. And I want to help you do it, too. So I am always thinking about how I will show it to you to make the process easier for you when you decide to go ALL digital.
Also, I know some of those 10 year old files I have moved from computer to computer need to go. Just because I CAN scan/digitize them doesn’t mean I should!
3. I am a creature of habit. Looking for things in a NEW place takes time. Getting my automation/habits to change will take effort.
#4 How I AM Starting
OK, this is crazy, but I find it easier to organize something completely NEW than to take a current system and digitize it.
I mentioned earlier that I have never had a good way to organize business cards. So that is how I am starting with my scanner. I am solving a problem I have instead of improving on a system that is currently working {like my filing cabinet}.
Oh, and before I forget… DO NOT just scan ALL your papers! You need to purge and organize them in their physical form first. 🙂
Ok, back to my business cards.
I set up the ScanSnap iX500 according to the directions, including making it wirelessly compatible with my computer.
I started by scanning one card and making any corrections needed on the screen.
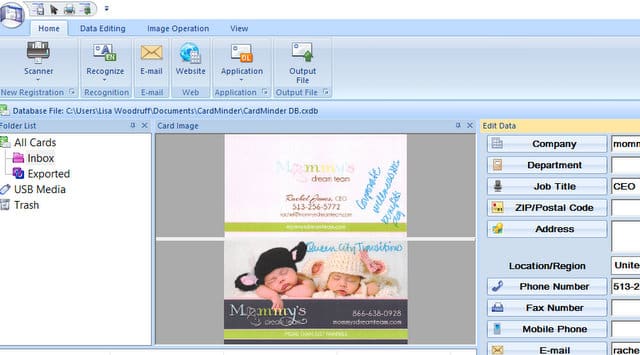
I really like how I can see the actual card and the notes I made when I met each person. I am a visual learner and have a photographic memory. So SEEING the card in color with my own handwriting on it is even better than having the information itself!
After I scanned a few cards, I learned a few tricks.
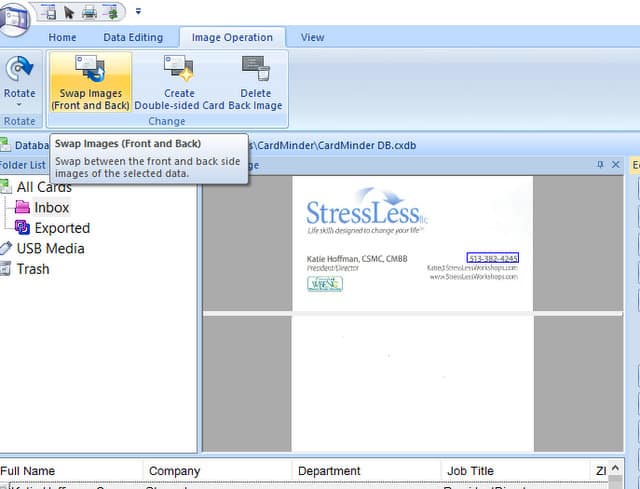
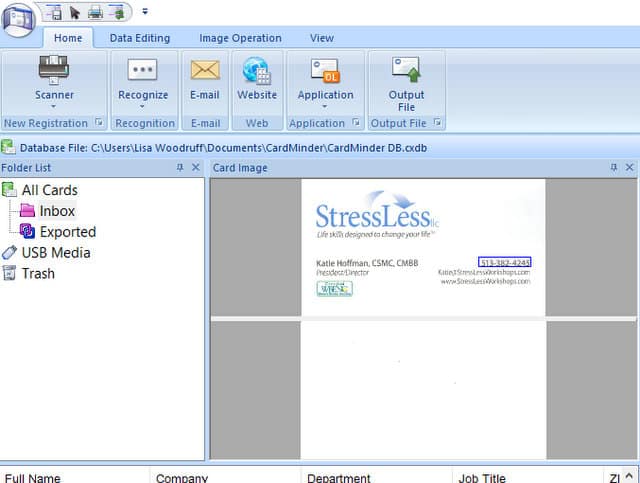
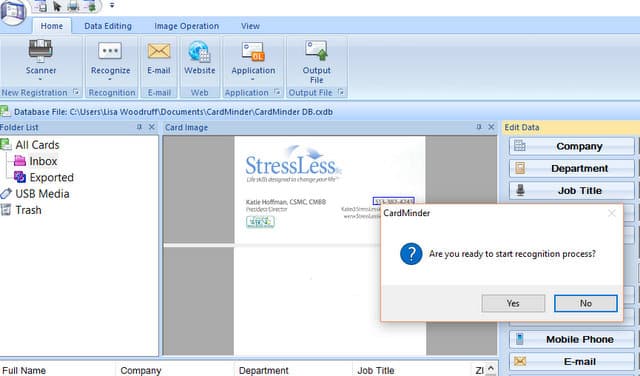
Select Yes and magically the information from the card will be populated into the CardMinder Program.
2. You need to read and edit the information that is automatically pulled.
Especially with highly graphic cards, you will need to double check and edit the information CardMinder pulls and loads.
3. Add notes!
To me this is the best part. I am still searching for the best contact management solution for me, but I know getting all these cards digitized is the first step. As I am scanning them and editing, I am jotting down a few notes as to how we are connected.
Don’t worry… I will be filling you in along the way as I make the transition to a digital/cloud-based home. But it is going to take a while!
Here is some more information about the exact scanner I chose.

